How to Build Your Own Website
Step-by-Step Guide
Step 1 - Set Up the Hosting Environment
Now that you have a little better understanding of the internet and how it works, let's move on to what you really came here for: building and hosting a website.
For the first step, we are going to prepare the environment where your website will be hosted. This is basically the server that one accesses when visiting a webpage, and is how people from anywhere in the world will be able to easily access the website you create. While this doesn't technically have to be the first step in your process, it is a lot easier if you have all of this set up beforehand.
Step 1.1 - Sign Up for GitHub
To begin, head over to github.com and click “Sign Up” on the upper left-hand side of the page. Keep in mind that the username you choose here will be publicly visible on the internet and will be in the URL of your site (yourusername.github.io) until you change it to the domain name you choose in Step 2.
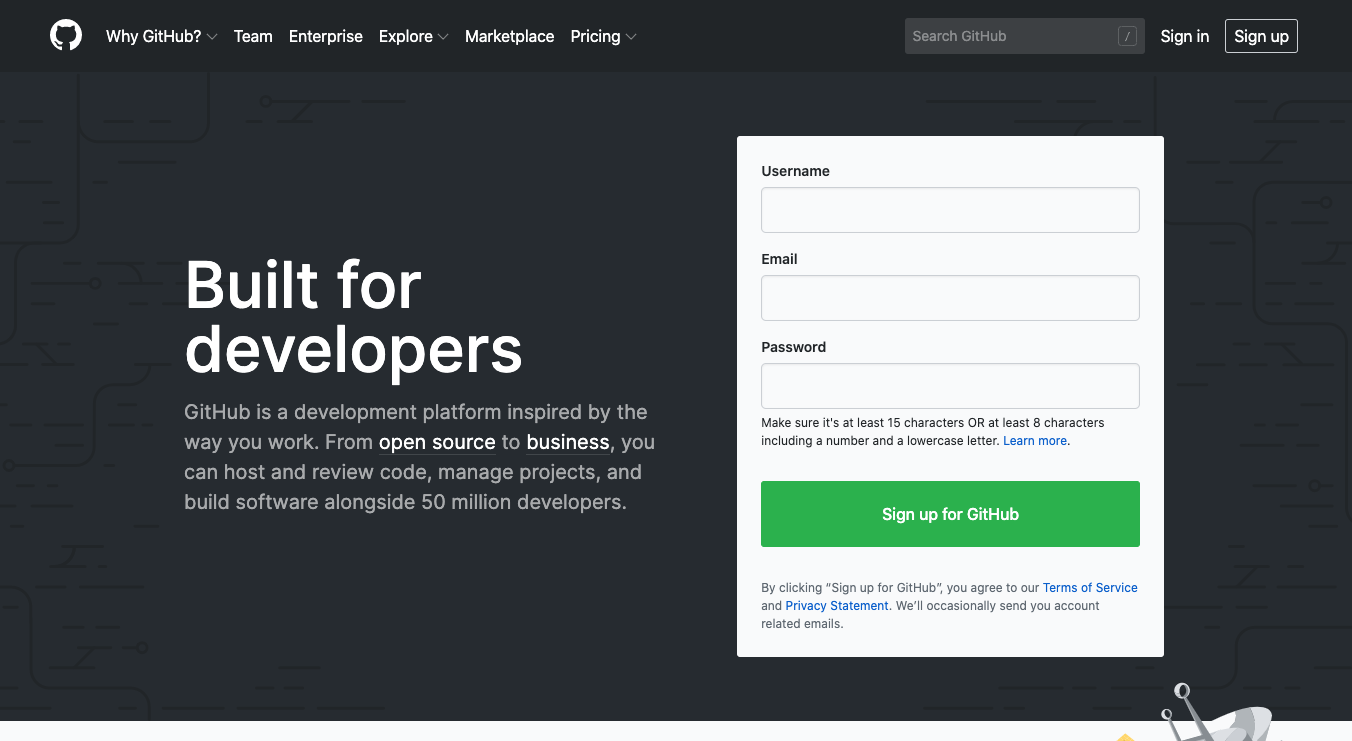
After the initial screen, you'll be prompted to select a plan. Choose the "free" plan as there is no need for a paid plan for this and, for that matter, most other non-professional uses. What you decide on the “Tailor you experience” part of signing up is completely up to you and what you would like to put.
After you have made it past this sign-up process, go check and verify your email and then move on to the Step 1.2!
Step 1.2 - Create a GitHub Repository
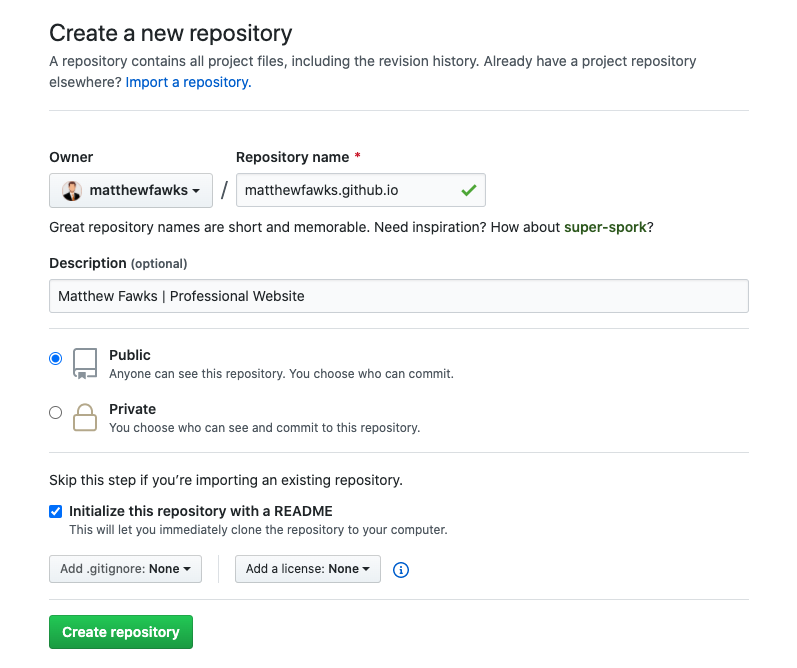
To create the spot where we will be putting your website (or rather the code that makes up your website), you will need to create a new “repository” (this is slightly different than a project, so make sure you click the correct one). To do so, go to the upper right-hand corner of the page, click the “+” button and “New repository.”

Getting this next step correct is very import for getting your site connected correctly in later steps. For your repository name, make sure you name your project exactly “YOURUSERNAME.github.io”. For example, if your username is “billgates” your repository name should be “billgates.github.io”. This tells GitHub that you are creating a webpage for your project. Accordingly, GitHub only allows a user to have one repository used in this way. Also check the box for "Initialize with a README".
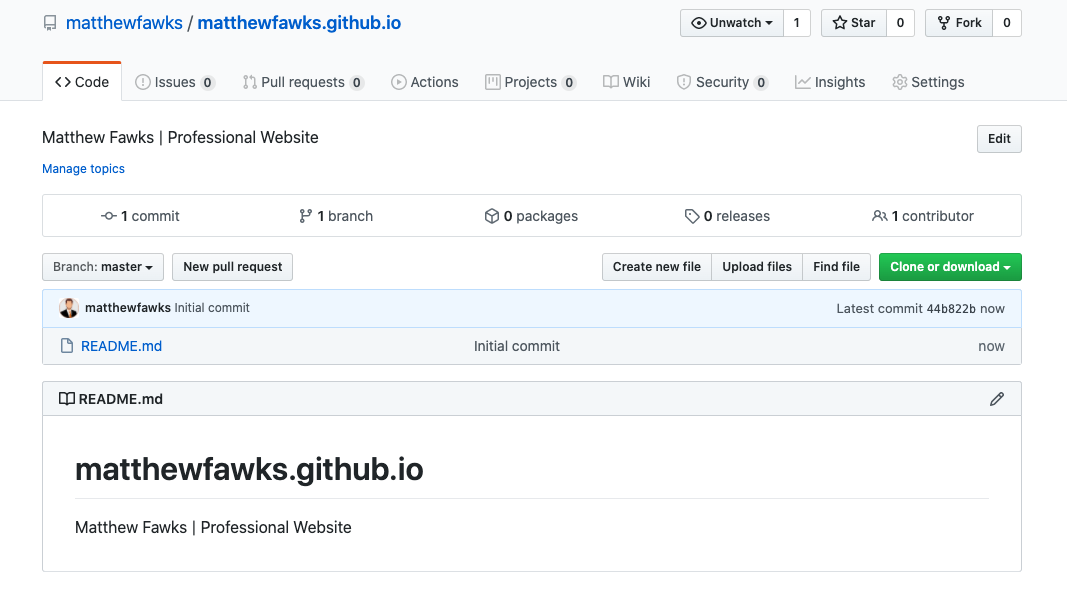
Your "Code" tab should now look like this.
Step 1.3 - Install GitHub Desktop
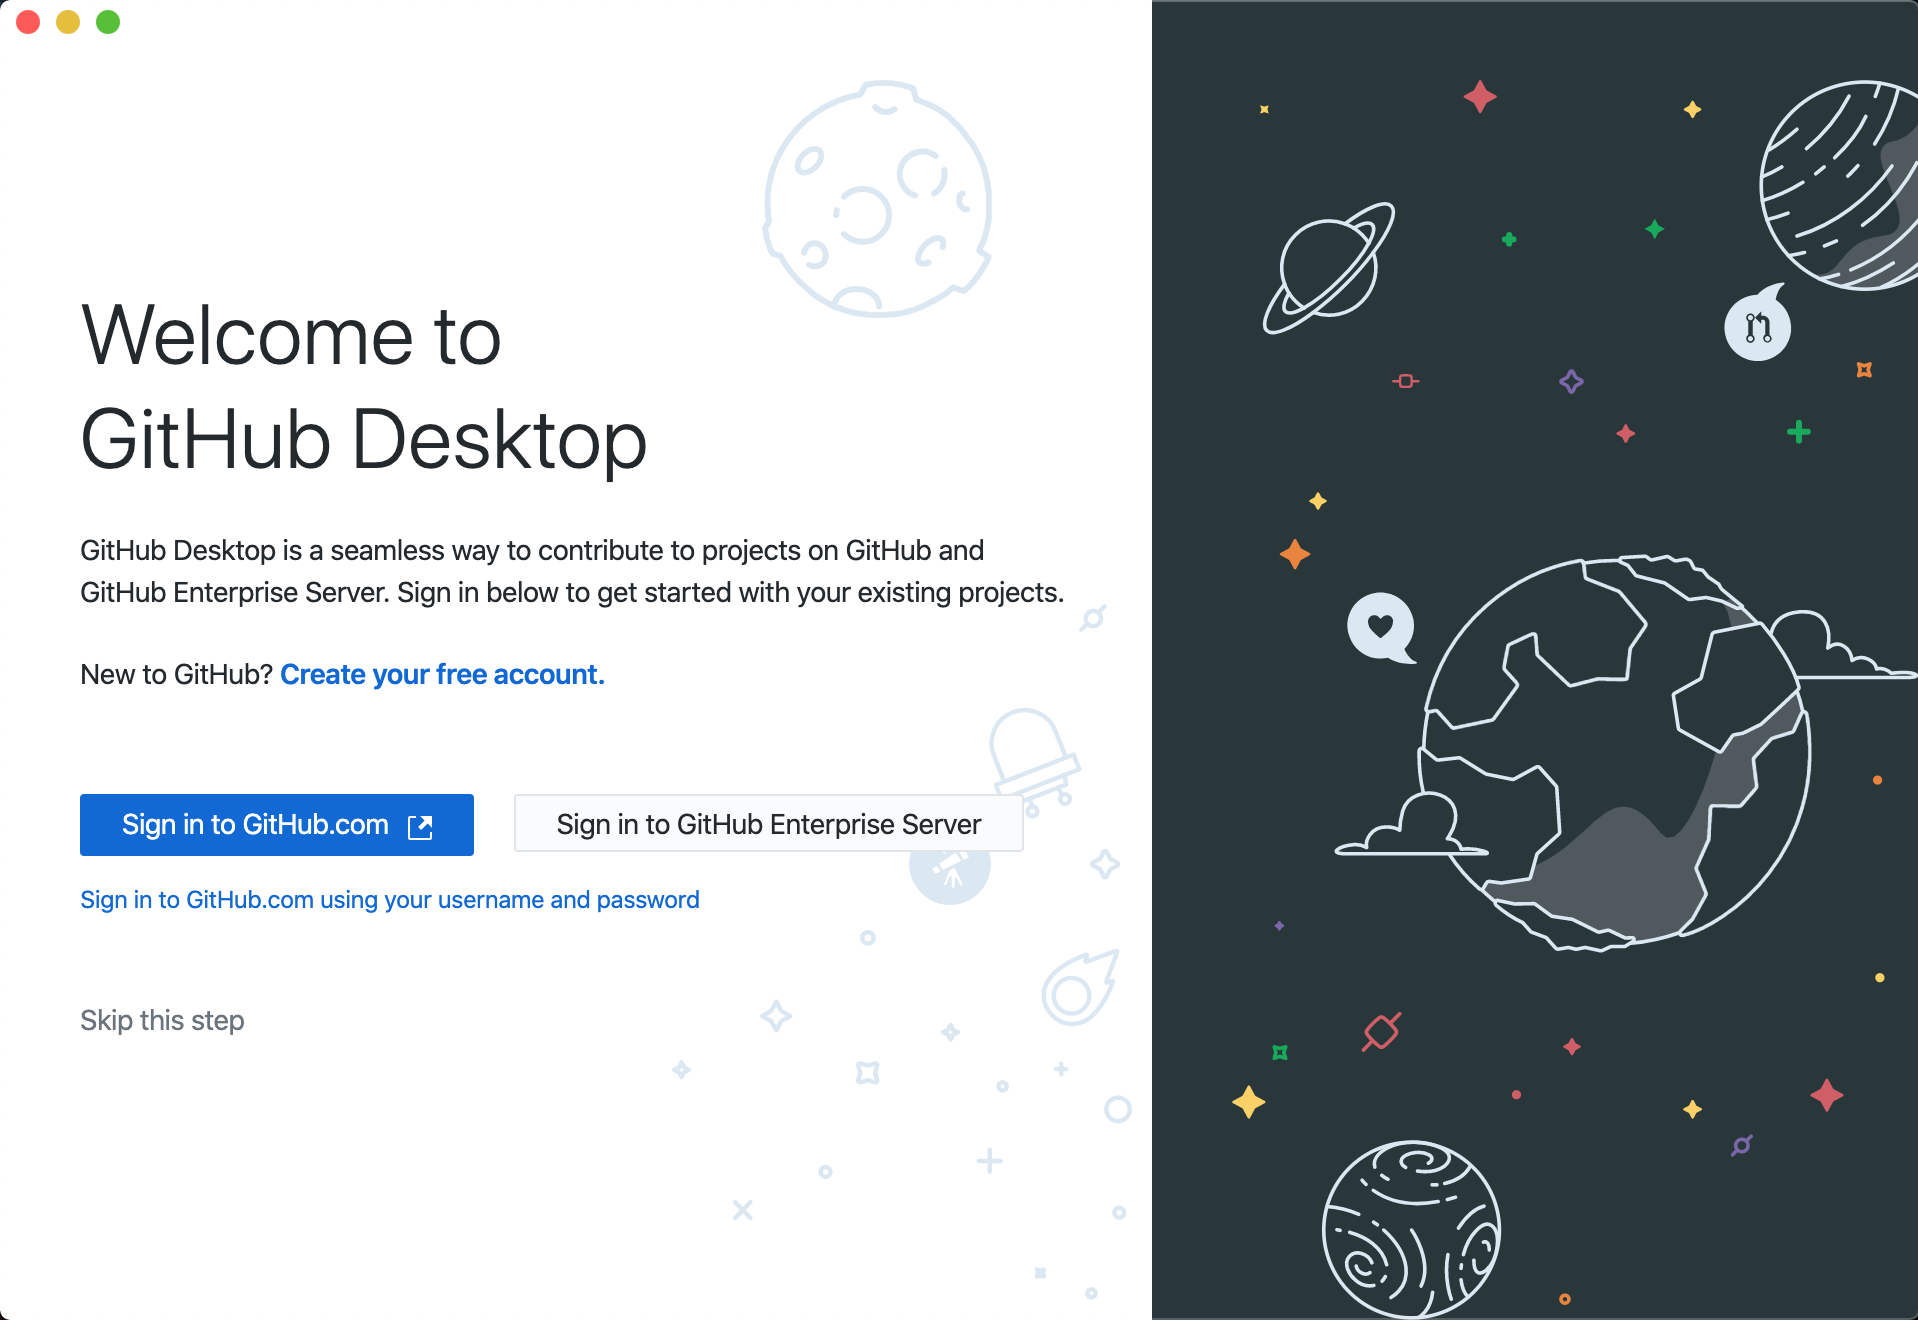
While you could certainly work out of your repository directly on GitHub’s website, this would become quite tedious as you try to create and update your website's code. To download an easier way to manage your repository, head to GitHub Desktop and download the correct version for your OS (this is currently available for Mac and Windows, but not Linux systems).

Click "Sign in to GitHub.com" and sign in with the information that you just created in Step 1.1. This option will redirect you to your browser to quickly sign in if you are already signed in on your browser. You could instead manually sign in using your username and password by choosing "Sign in to GitHub.com using your username and password".
Step 1.4 - Clone Your Repository to Your PC
Now, you are going to want to "clone" the repository you created on GitHub in Step 1.2 to your PC. There are two easy ways to do this. One way would be to do so directly from GitHub Desktop after you sign in and see the following screen.

You would simply click the name of your repository on the right and it will open up the "Clone a Respository" screen shown after this other method.
For the second way, within your repository on the GitHub website, you are going to want to set it up in your desktop by clicking on the “Code” tab, clicking “Clone or download”, and clicking “Open in Desktop”. Your browser should launch GitHub Desktop (or ask you to launch GitHub Desktop in which you would just click “Yes” in your browser).
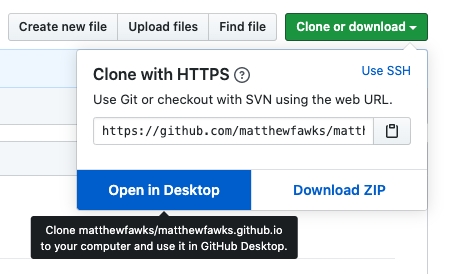
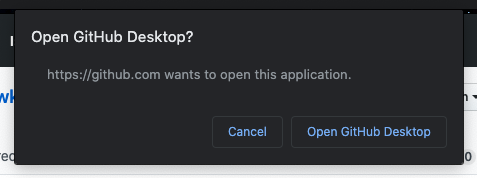
Click "Open GitHub Desktop" if you are prompted with the following screen in your browser.
Regardless of which way you do it, a window should then pop up on GitHub Desktop that pre-fills your Repository URL and a Local Path. Feel free to change your local path if you would like to save it somewhere handy, like your Desktop or your Documents folder, for example.
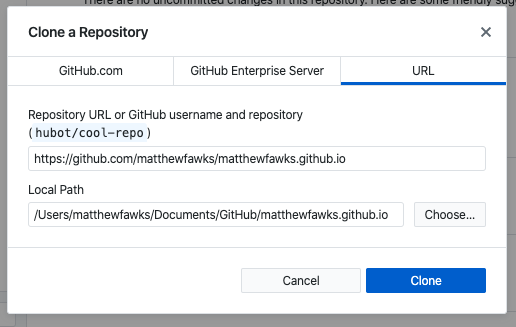
Click "Clone" and it will clone the repository to your computer at the path you chose.
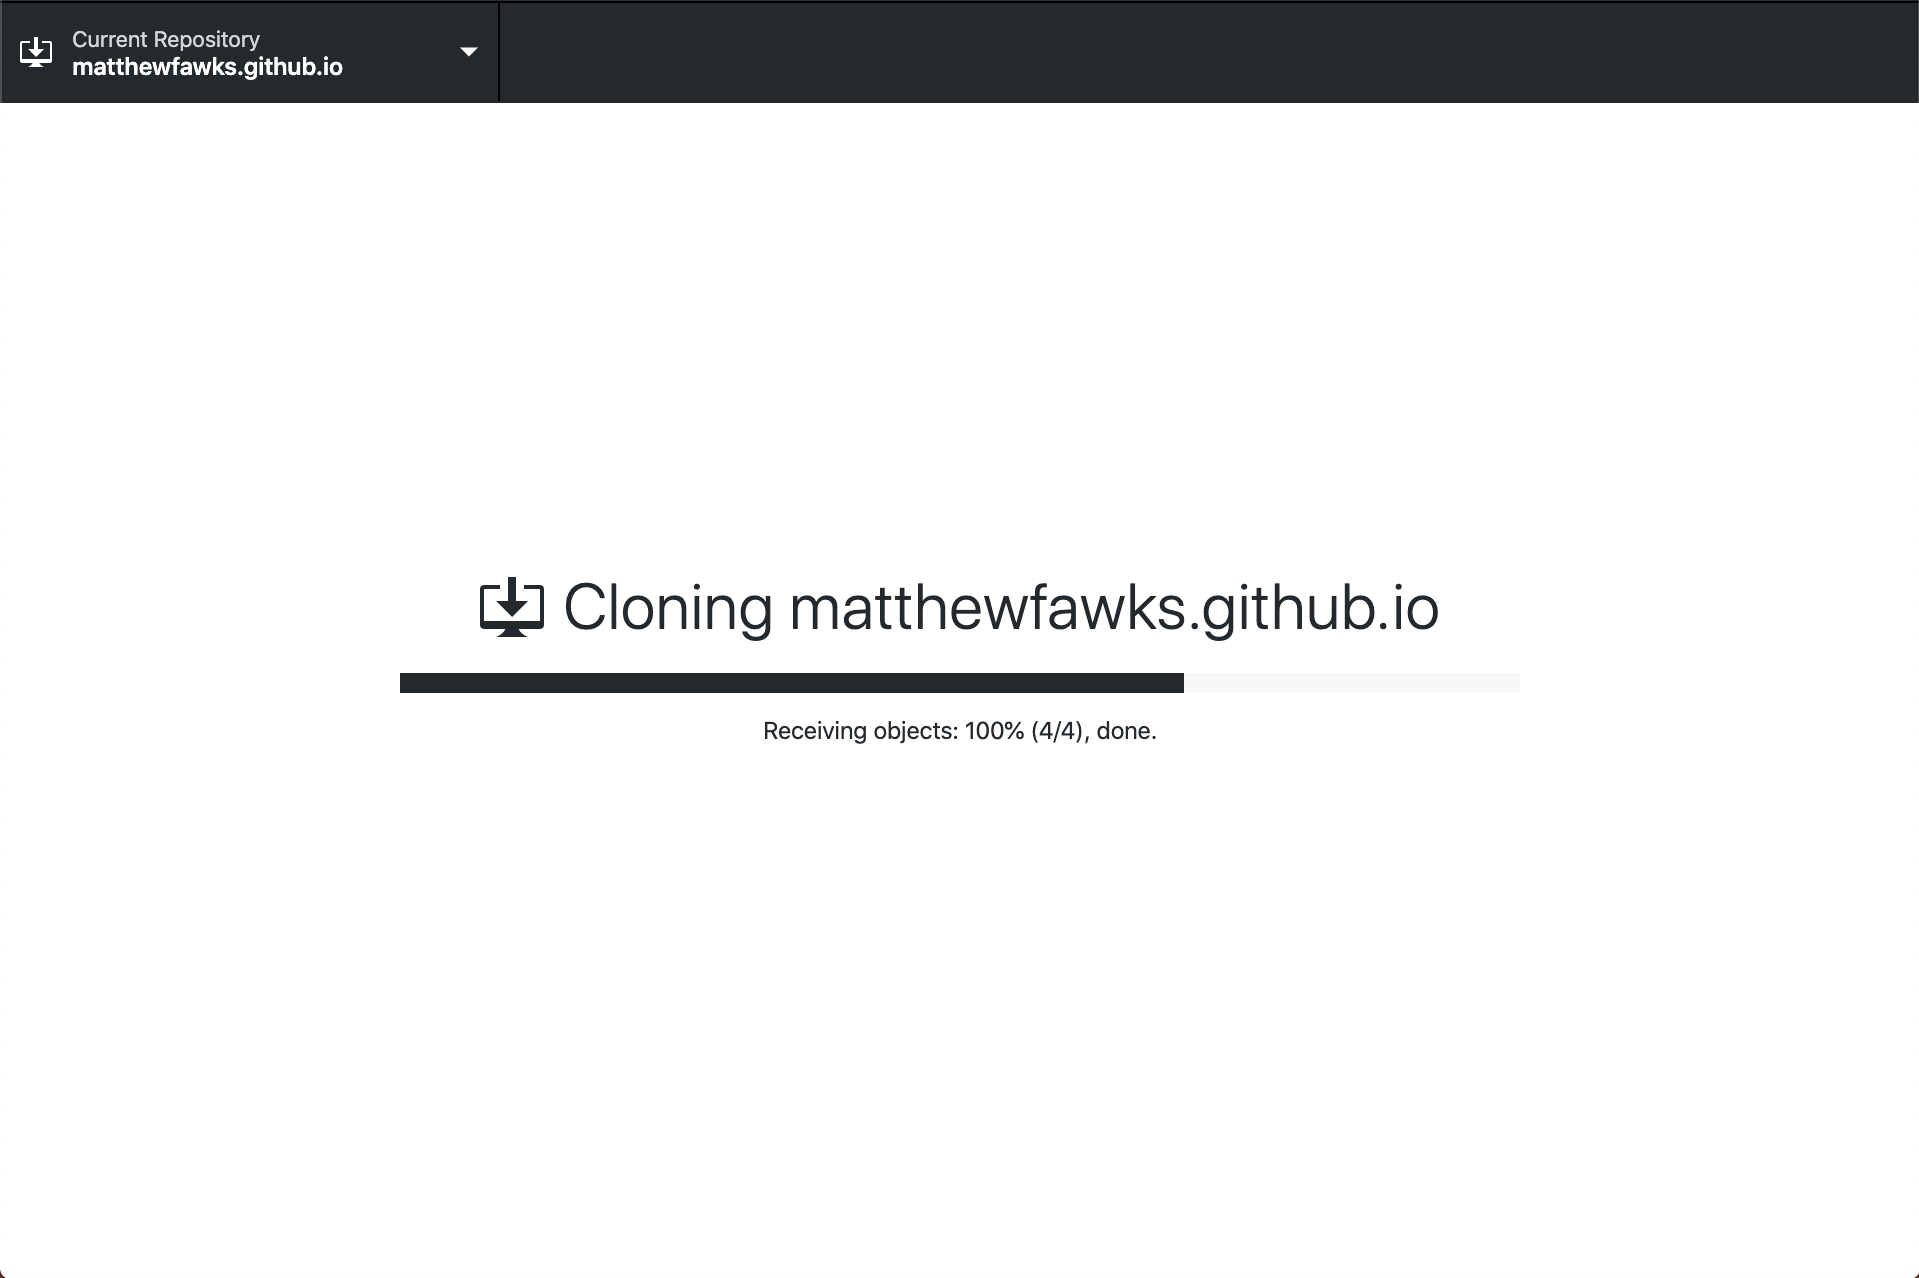
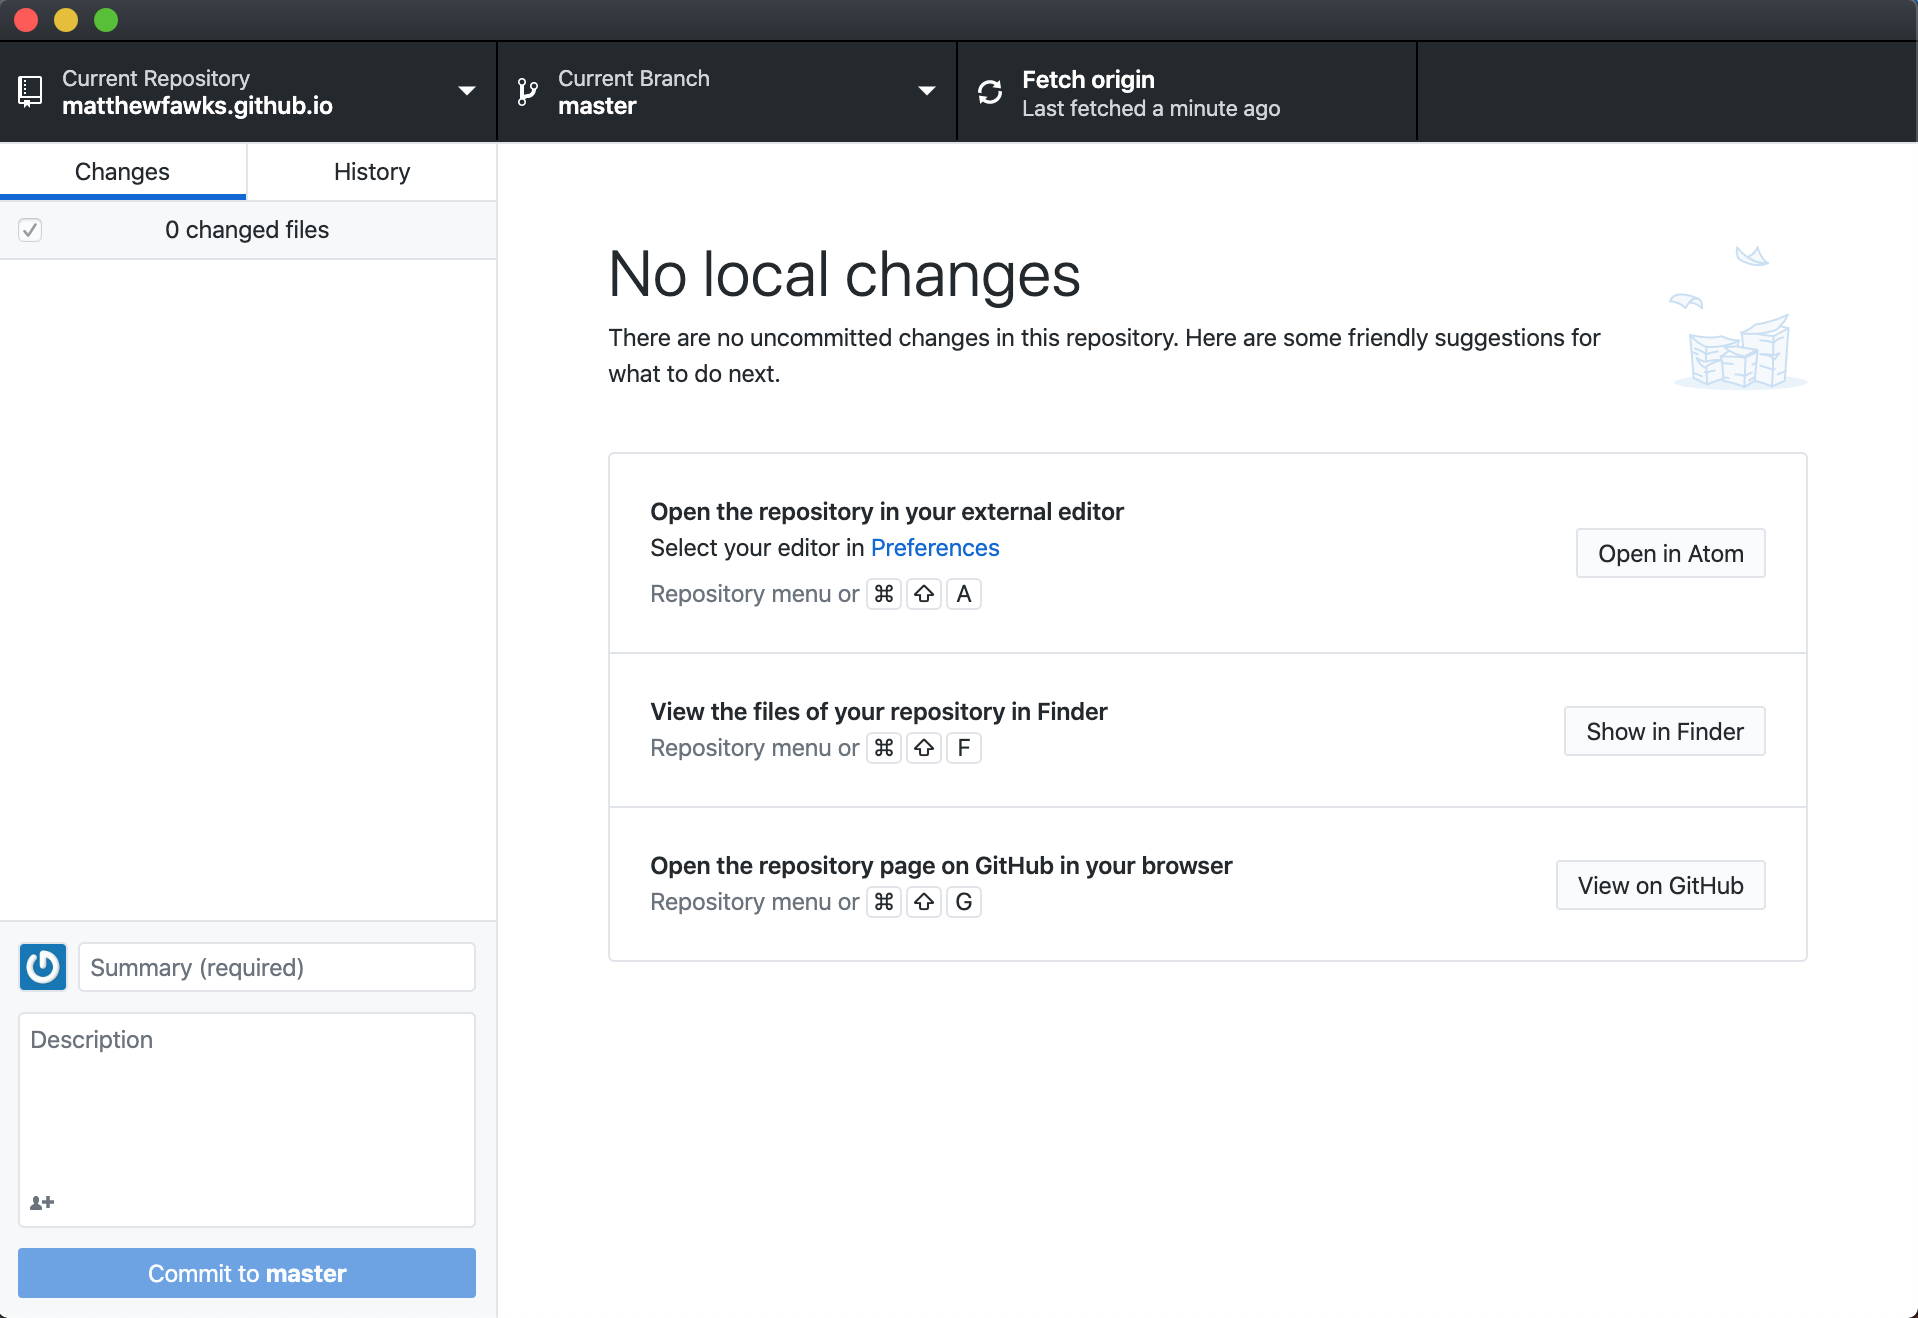
After cloning, it should open to something that looks mostly like this.
Now you are ready to move on to the second step, but keep all of this available as we will circle back to it shortly after the next step! Note that you could technically skip Steps 2 and 3 and come back to them after setting up your site as you will still be able to view your site by typing “YOURUSERNAME.github.io” into the URL part of your browser. Do this if you are unsure if you want to commit to purchasing a domain name already, or if you just want to make sure you can get your site functioning beforehand.
*While GitHub Pages is a great (and FREE!) option to hosting a static webpage, this will certainly not suit every use-case out there. To see alternatives to using GitHub Pages (whether because you want to work on back-end development or simply would rather use a different platform), check out the "Hosting Alternatives" section on my Alternatives & Extra Content page.