How to Build Your Own Website
Step-by-Step Guide
Step 2 - Get a Domain Name
Now that you have chosen and created where your site will be hosted, now will be a good time to select a domain and, in Step 3, configure that domain with your host (for us, GitHub Pages).
Unsure of what a domain name is? As mentioned in Step 0, a domain name is basically just the URL of your site (ex. "google.com"). Domain names exist so that you don't have to directly know and type in the Internet Protocol (IP) address of the site you are trying to reach. For example, one of Google's IP addresses could be something like 172.217.9.14 (Google has several rotating IP addresses in order to manage their high amounts of server traffic), and putting that directly into your brower URL bar will go to what you know as "google.com" just the same as typing in "google.com". Domain names are associated with their respective IP addresses through something called the Domain Name System (DNS), which will be something we have to consider as we get your chosen domain name to associate with your GitHub Pages repository (don't worry, it's pretty simple for our purposes). To read a little more on all this, click here.
Currently, the default domain name of the GitHub repository you just created is ""YOURUSERNAME.github.io", which should also be your repository name. To change that domain name to something custom, just follow the below steps as well as Step 3. We are going to use Namecheap to purchase our domain, but there are other sites such as GoDaddy and Google Domains, and the process will be fairly similar regardless of which you use. Check out the "Domain Service Alternatives" section on my Alternatives & Extra Content page for more information.
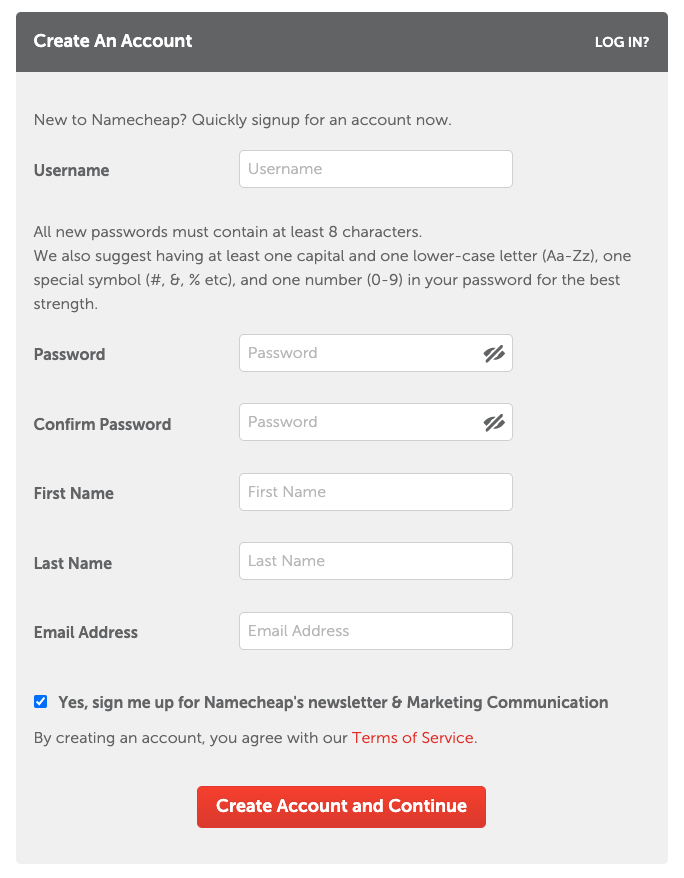
Step 2.1 - Create a Namecheap Account
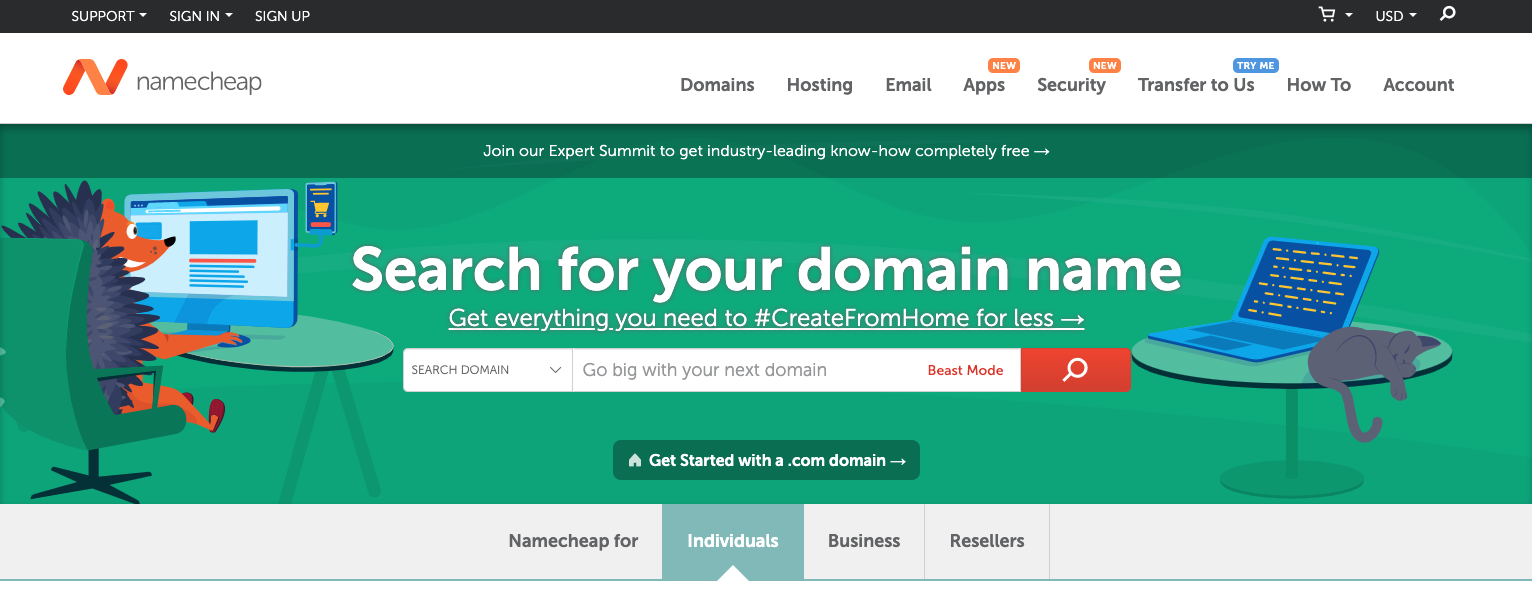
First, head over to Namecheap.com and create an account.

Step 2.2 - Search for and Select a Domain
After creating your account, find the search bar, type in the domain name you are considering, and click the search button.
In the results of your search, you will notice several different options available with everything from the typical ".com" and ".org" to ones such as ".to" or ".me". Take note of the prices as they can vary drastically. Take the below example, for instance, where the cheapest on the page (testdomain.shop) is only $2.88 for the first year whereas another is $7,372 (testdomain.me). This is because once you buy and own the domain, you are able to set a price and attempt to sell it for well beyond the normal market renewal price if you so desire.
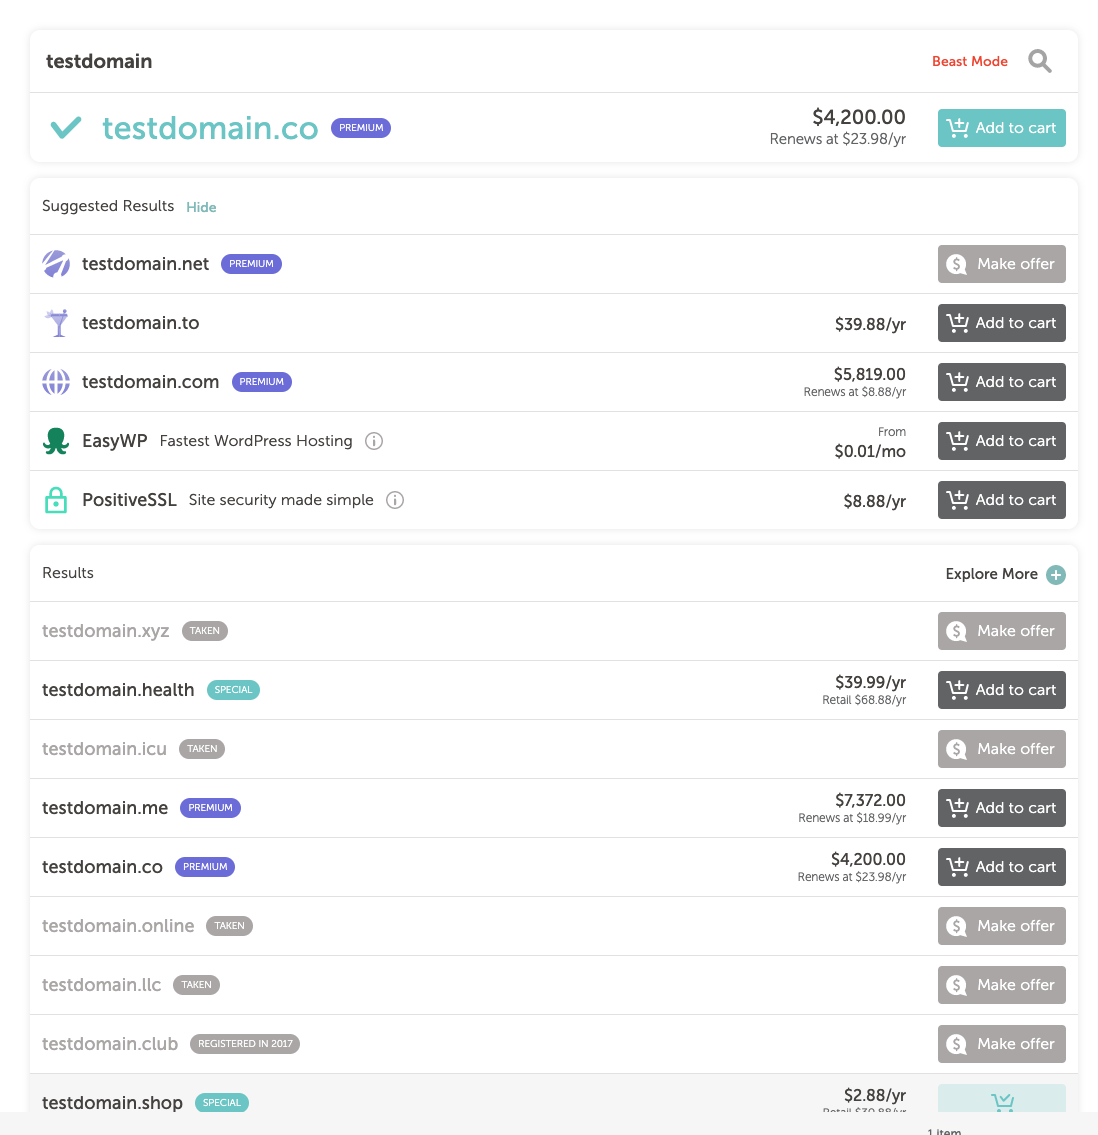
Once you select one, add it to your cart.
Step 2.3 - Purchase the Domain
In your shopping cart, you will notice further "Improve Your Site" options, but none of these will be necessary as we are using GitHub Pages to host your site for free. GitHub Pages also has built in HTTPS encryption as they are partnered with Let's Encrypt, so you don't need to get an SSL certificate with your purchase either. You could get email functionality if you desire, but this really isn't needed for your basic site and you'll already be able to redirect any emails sent to your site address to your personal email address.
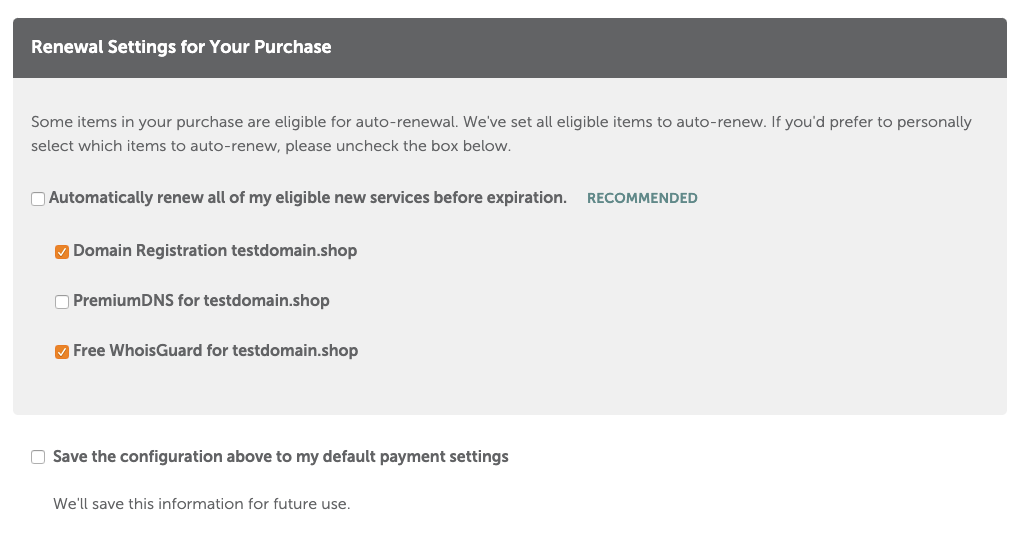
I would fully recommend getting WhoisGuard, however, as it is free and will save you from having to have your personal information publicly found in the Whois database (also could be found in the ICANN Lookup).
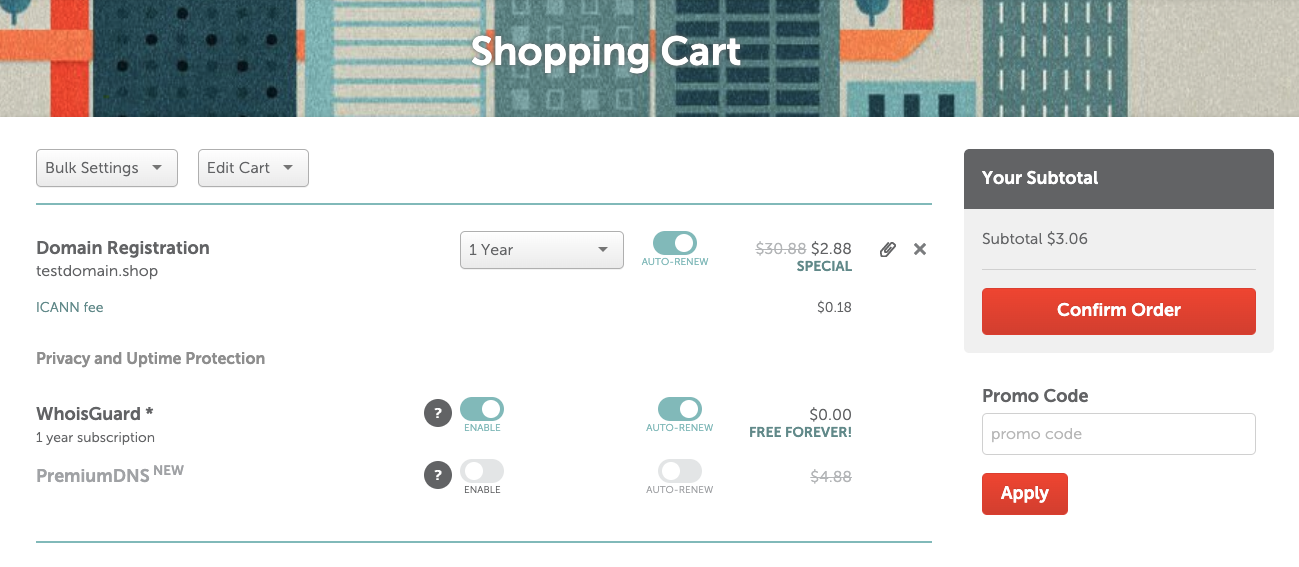
Choose to turn on automatic renewal if desired. PremiumDNS isn't needed, but you can read up more on it here.
Go through the remaining steps to complete your purchase and go ahead and download the receipt for your records.
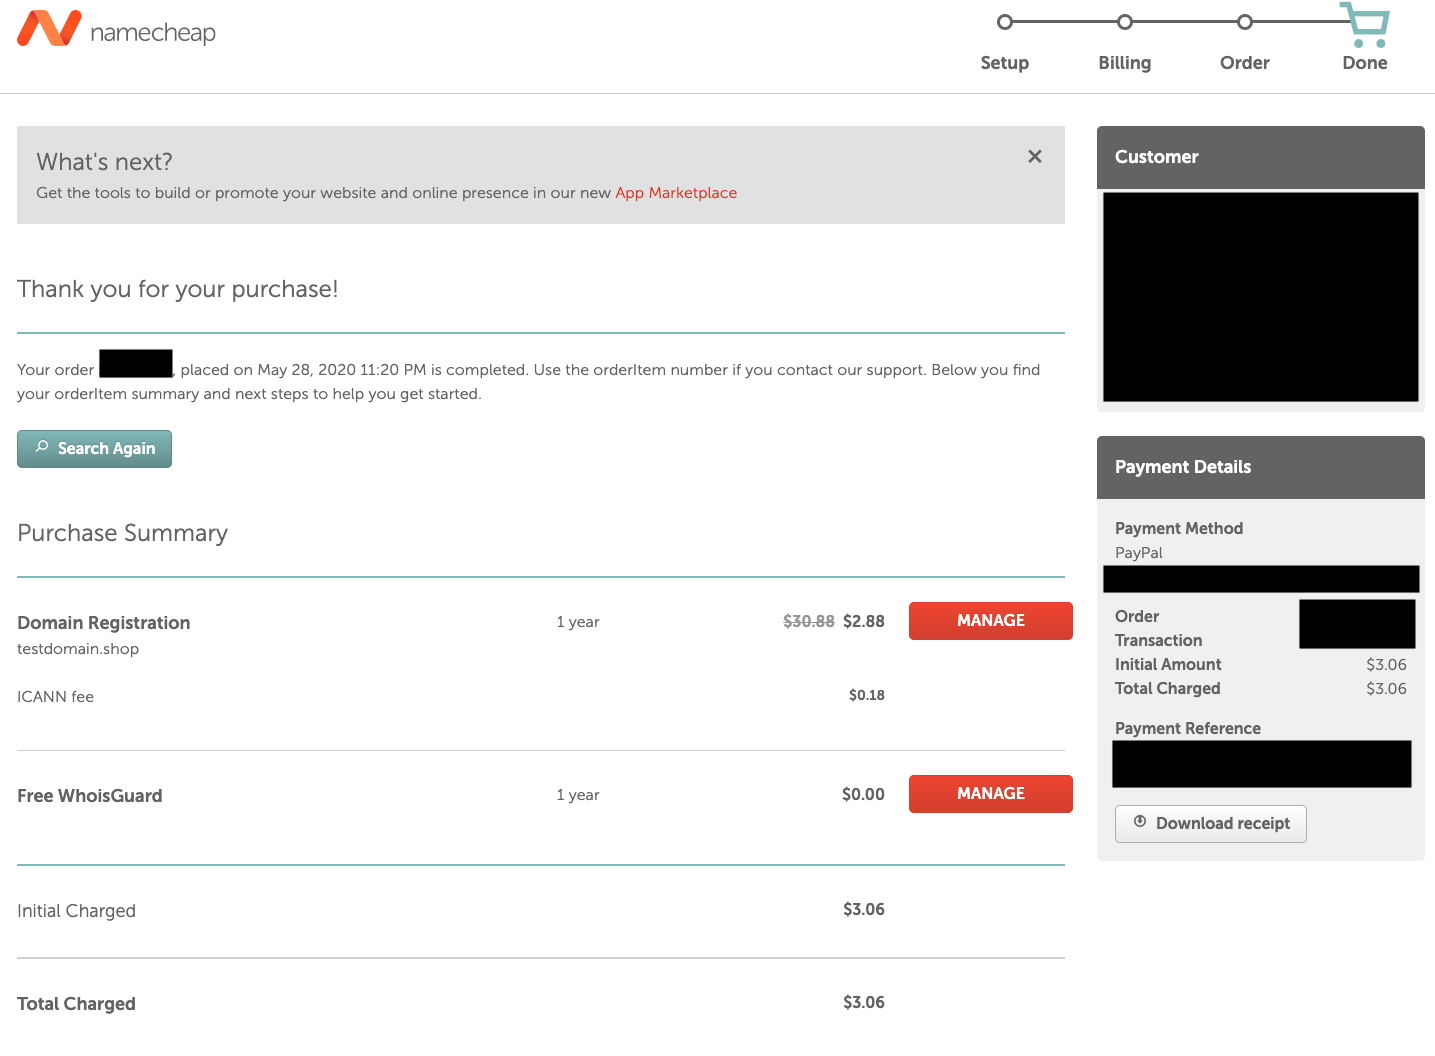
Congratualtions on purchasing your first domain name! Now move on to Step 3 to set up the domain name and get it connected to your repository.